The cardigan that launched my quest for a better button band
In one of the best blog posts I have ever encountered, Techknitter discusses knitted button bands as a symptom of a delusion shared only by knitters, much like the shared delusion of opera fans. Unlike opera’s true believers, opera outsiders cannot suspend disbelief during a performance, and will see only the morbidly obese 65 year old tenor with bizarrely painted on eyebrows and a comb-over, not the 25 year old ardent lover he is supposed to be. So too, she wisely concludes, do non-knitters fail to suspend disbelief over handknits, and will see only the saggy button bands and soggy button holes we knitters ignore while we ooh and ahh over yarn choices and cabling.
As one who is no stranger to the achievement of ecstatic oneness with the universe via operatic performances, I will stick with her well-chosen metaphor, and declare that I want to achieve a Jonas Kaufmann level of hotness in my button bands. For anyone who clicked on the Jonas Kaufmann link just now, you’re welcome.
The project that started my search for a new button band was one I had made many times before – my Mary Anning.

Mary Anning
I knew the pattern by heart, and since my daughter had begun to suggest she wanted a white cardigan, and I just happened to have a few skeins of a gorgeous white angora and silk fingering weight from Romni kicking around, I decided to make it yet again.
When I designed this cardigan, I wrote the pattern with a button band worked concurrently (i.e. button bands and holes worked as you go, knitting the whole thing up from the bottom). I designed it this way because the original design had a contrast colour on the cast on edge that I wanted to maintain in the button band, and, well, also because I can be very lazy. Why knit button bands if you can just do them at the same time as everything else? The best way to work concurrent button bands, of course, is to work out ahead of time how many rows the cardigan will be in your chosen size, in order to space the buttonholes evenly. However, the yarn I would be using was much lighter, and I didn’t want to bother doing a swatch in order to figure out how to alter the cardigan. You know, the lazy thing again.
So, rather than knitting the button band as I went, I decided I would pick up stitches along the fronts once I was finished, and just do a garter stitch button band. Adding to the button band requirements were the buttons themselves: Matilda wanted enormous, heavy, sparkly buttons, so I knew I would need a good sturdy button band and reinforced button hole. Who am I to deny a seven-year-old the opportunity to have enormous sparkly buttons?
At the same time, I was thinking about all the soggy button bands I had been seeing (and, only perhaps, making – the Happy Home Economist admits nothing…), so, with Techknitter’s dictum ringing in my ears, I realized this cardigan was the perfect opportunity for me to try something new. Since the button bands would be picked up and knit, if I screwed up in some way, all I would have to do would be to rip the button bands back and do them again. I had plenty of extra yarn, so I had nothing to lose by trying.
I worked both button bands straight, with no holes. After the whole cardigan was finished, with ends woven in, button bands completed, and seams seamed, I wet blocked it before getting to work on reinforcing the button bands and making the buttonholes.
I knew I would need some ribbon sewn on the inside of the cardigan to provide a sturdy platform for the enormous glittery button-like objects. I picked out a sturdy grosgrain ribbon in a lovely silvery grey, so that if the cardigan fell open there would be a nice neutral contrast colour inside. Grosgrain is generally delightfully inexpensive, which always appeals to the Happy Home Economist.
Every time I see a discussion regarding sewing ribbons to knitting, the author always suggests sewing it in by hand in order to create an invisible seam. I, however, am a terrible seamstress. After 60 minutes (which included 20 minutes of threading my needle. Apparently bifocals may be in my near future)…) of struggling and straining with my hand sewing, all I had achieved was a sore neck, sore eyes, and perhaps 2 1/2 inches of the crappiest, most uneven hand sewing I had ever seen. The stitches were so poorly done that the ribbon was sliding out of position and was slightly visible on the outside. I grabbed my seam ripper, ripped the ribbon off, and reconsidered my position.
I reasoned that, given my terrible hand sewing technique, whatever I did by hand would always be crappy. And take a million years. And (again) I’m lazy and don’t want to spend a million years sewing in ribbons by hand. The sewing machine, in contrast, would undoubtedly produce an even, secure seam, which, I decided would likely look kind of nice even if it weren’t invisible. I mean, it’s not like I am capable of creating a tidy invisible hand stitched seam anyway. So, if the seam is going to be visible despite my best efforts, then it makes sense to use the machine and make one that looks nice and is functional, regardless of the advice of whatever manuals, books and blogs had to suggest.
I pinned the ribbon on. Since the cardigan was quite stretchy and the ribbon, of course, is not, I spaced the pins fairly closely, pulling on the ribbon and the cardigan as I went. I threaded my machine with white thread to match the cardigan rather than the ribbon, since I didn’t want a noticeable thread running up the button bands on the right side. With a quick inhalation, I started up the machine, with the ribbon side facing upward. While the seams I made are not perfectly straight (as I mentioned, I am not a good seamstress), they are absolutely good enough. It looks cute on the inside, and the seam is invisible on the outside. All you see on the outside is a nice, firm straight edge that highlights the cast off stitches.

No sign of the machine sewn ribbon seam on the outside
The next step was buttonholes, which I have never before made (again, pointing at self, terrible seamstress…). As I do every time I haul out my sewing machine, I got out the manual to figure out buttonholes. I also watched a few youtube videos on the subject, and read a few blog posts. Sewing buttonholes in knits, of course, is similar to steeking – I knew that if you sew up your knitting it will stay put when you slice into it, so I wasn’t too concerned about ruining my knitting. And again, I could always just rip out the button bands if it looked terrible.
I knit up a small swatch about the same size as the button band, sewed on a small piece of the ribbon I was using, and made a few practice buttonholes. I discovered the following issues, which may be useful information for anyone with the same lack of sewing experience:
- Large buttons with shanks will just pop out of automatic button hole sewing feet. I solved this by just using a large shankless button in a similar size. I tested the results by ensuring I could fit the sparkly shanked buttons through the holes I created with the shankless flat ones.
- With my Janome machine, and perhaps others – I don’t know – whenever you complete a buttonhole you have to reset the machine by manually switching to some other stitch then back to the buttonhole stitch. I completely missed this piece of the instructions for an embarrassingly long time. Long enough for me to think that buttonholes were completely beyond my sewing abilities, or indeed that using a sewing machine was completely beyond my cognitive abilities.
At any rate, with those issues solved, I put a pin to mark where each button would go. The cardigan design was helpful for this – the garter stitch stripes across the yoke are equidistant, so I used those for the button holes.
The buttonholes were created with the ribbon side facing upward. After 3 lovely, firm buttonholes were created, I snipped through the ribbon and the knitting, and was soon aware that in all my years of knitting, these were the best buttonholes I had ever made. I don’t think I will ever use another method.
Finally, to secure the large shanked buttons in place, I used small flat buttons (grey to match the ribbon) sewn in position on the underside. For anyone who has never used this technique, it’s really simple and absolutely necessary in order to avoid drooping buttons. When you sew on your chosen button, simply insert the needle through the fabric – same as usual – and also through a small flat button held on the inside of the garment. Just keep sewing your button on, inserting your needle always through the inside button, the fabric, and the outer button.

The good-enough-inside seam, the delightful buttonholes, and the inside anchor buttons

Gratuitous picture of adorable child

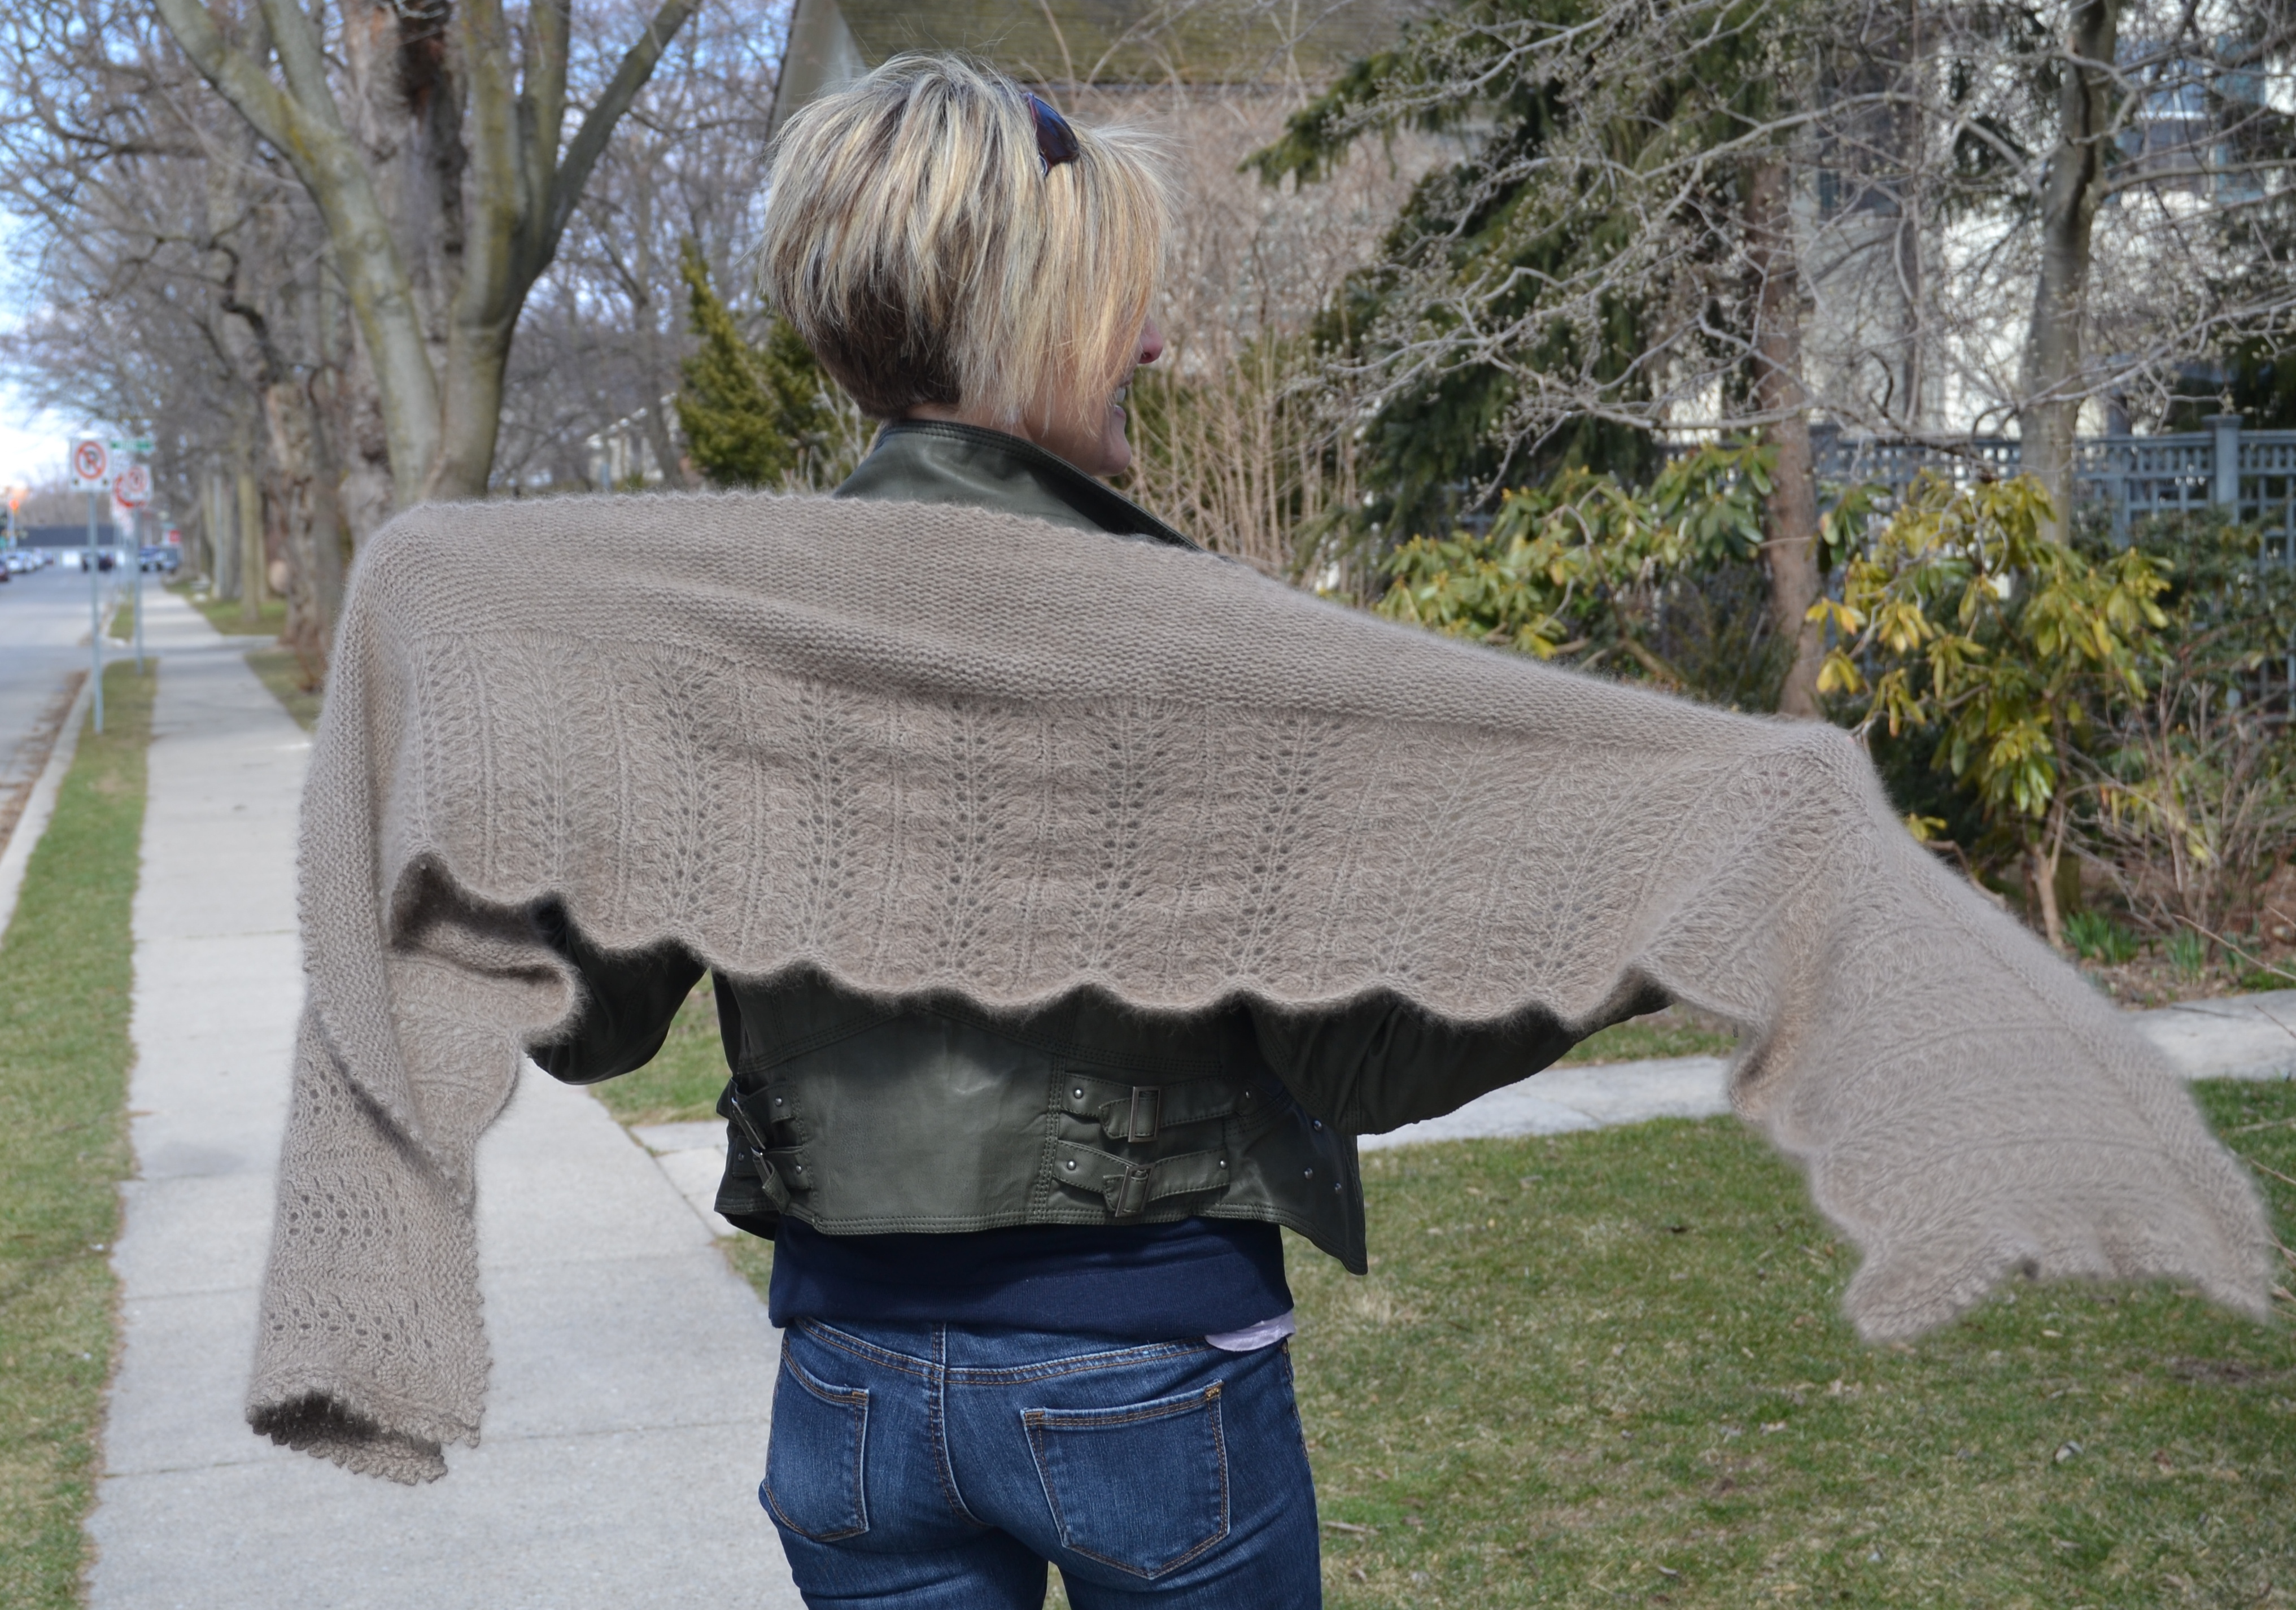
Gratuitous picture of the cardigan and lacework. Delightful drape courtesy of Romni’s silk angora fingering.